Jeep Wrangler 2018-2026 Owners Manual / GETTING TO KNOW YOUR VEHICLE / WRANGLER TOPS / Lowering The Soft Top Into Sunrider® Position / Soft Top Window Storage Bag — If Equipped
Jeep Wrangler: Lowering The Soft Top Into Sunrider® Position / Soft Top Window Storage Bag — If Equipped
To safely store the soft top rear window, and rear quarter windows, proceed as follows:
NOTE:
The swing gate bar, once removed from the rear window, does not store in the soft window storage bag (if equipped).
- With the bag opened completely, fold both
fabric dividers downward and lay the first
quarter window all the way to the right side
with the inside of the window facing
downward and the window pillar to the
outside.
NOTE:
The quarter windows are marked “1” and “2” on the inside of the window pillar.
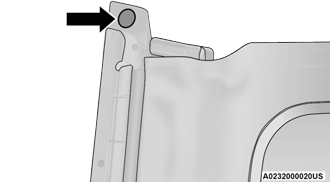
Step One
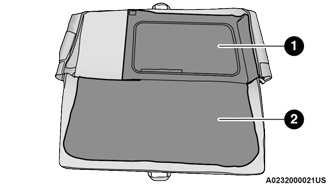
Step One
- Quarter Window Facing Downward
- Both Dividers Folded Down
- Fold the first divider upward, covering the
first quarter window.
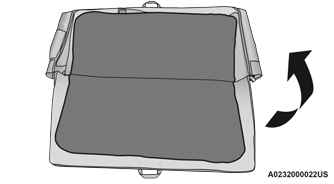
Step Two
- Lay the second quarter window on top of the
first divider all the way to the left side with
the inside of the window facing downward
and the window pillar to the outside.
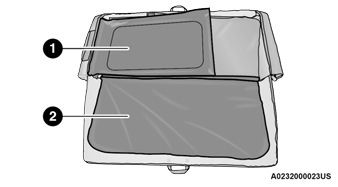
Step Three
- Quarter Window Facing Downward
- Second Divider Folded Down
- Fold the second divider upward, covering
the second quarter window.
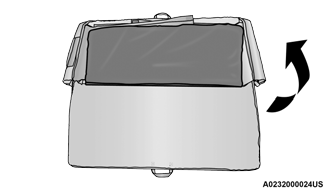
Step Four
- Lay the rear window on top of the second
divider.
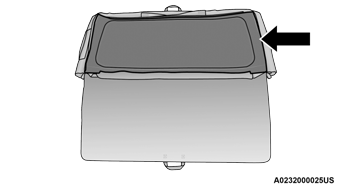
Step Five
- Close the storage bag and store in a safe
location.
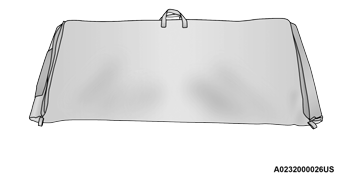
Step Six
 Remove The Right And Left Quarter Windows:
Through the rear opening, push the bottom
corner outward and release tab from the
bottom of the window pillar.
Step One
Undo the hook-and-loop fastener located at
the upper front corner of each quarter
window...
 Lowering The Soft Top All The Way
Remove the rear window and quarter panel
windows.
From the Sunrider® position,
remove straps if previously secured and
move to the rear of the vehicle...
Other information:
Jeep Wrangler 2018-2026 Owners Manual: VEHICLE MAINTENANCE
An authorized dealer has the qualified service personnel, special tools, and equipment to perform all service operations in an expert manner. Service Manuals are available which include detailed service information for your vehicle. Refer to these Service Manuals before attempting any procedure yourself...
Jeep Wrangler 2018-2026 Owners Manual: Send & Go
D..
Copyright © 2026 www.jewrangler.com
